
Once WordPress is installed with basic settings, a theme, and a few core plugins in place, the next step is building out the site’s structure. This guide walks through creating pages, adding sample posts, choosing homepage behavior, and setting up a navigation menu.
1. Understanding Pages vs. Posts
Before creating anything, it helps to know the difference:
- Pages are for static, timeless content, for example About or Contact. They don’t have a publish date shown and aren’t part of a blog feed.
- Posts are the actual blog entries. They’re dated, listed chronologically, and can be organized with categories and tags.
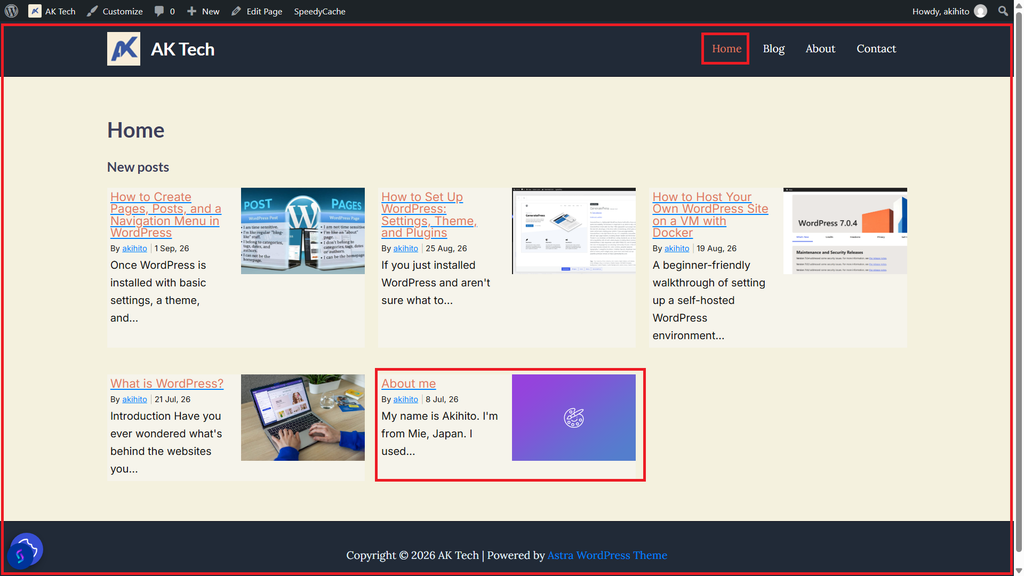
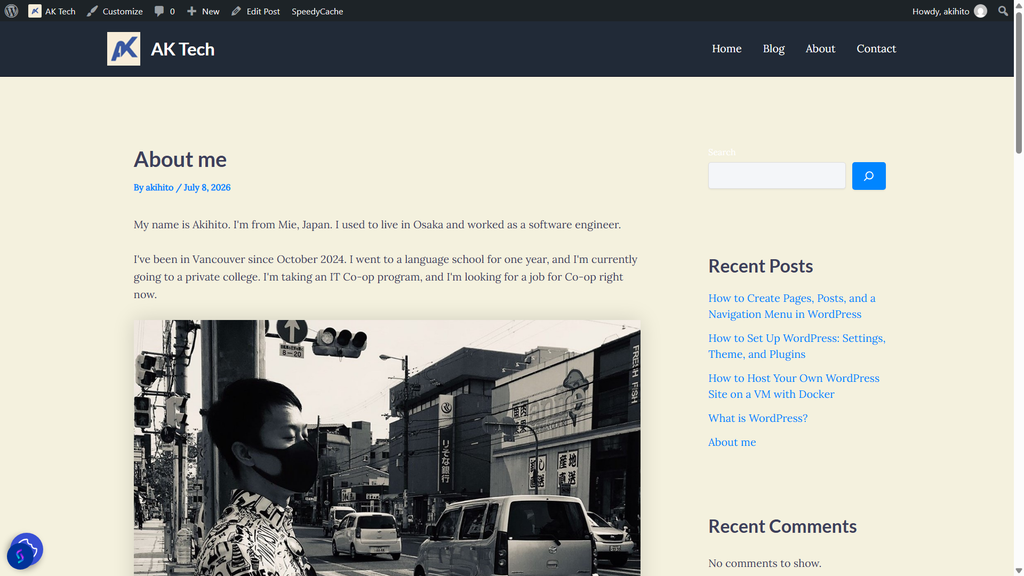
Keeping this distinction clear from the start avoids a common mix-up.
2. Creating Pages
No page, no posts.
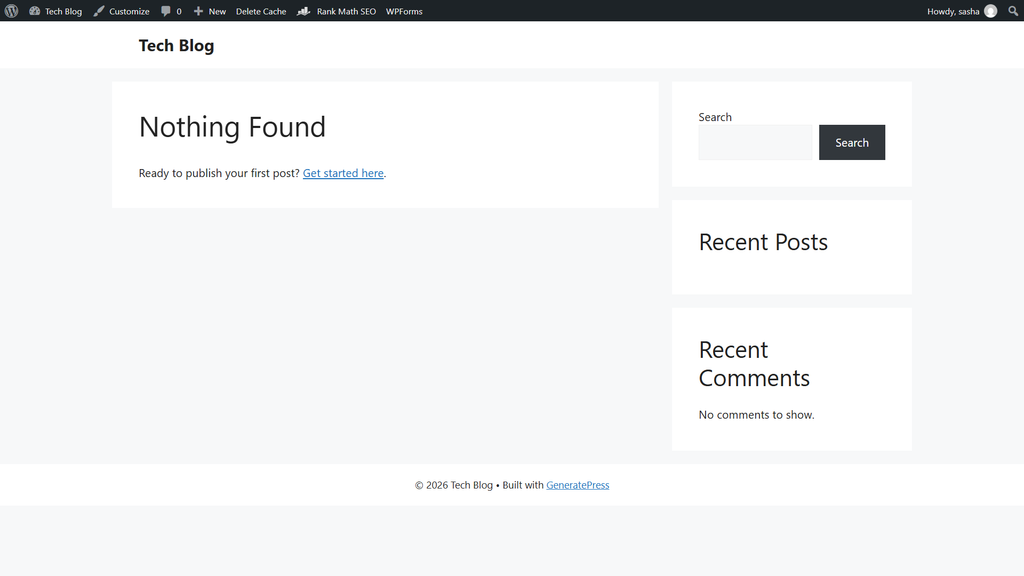
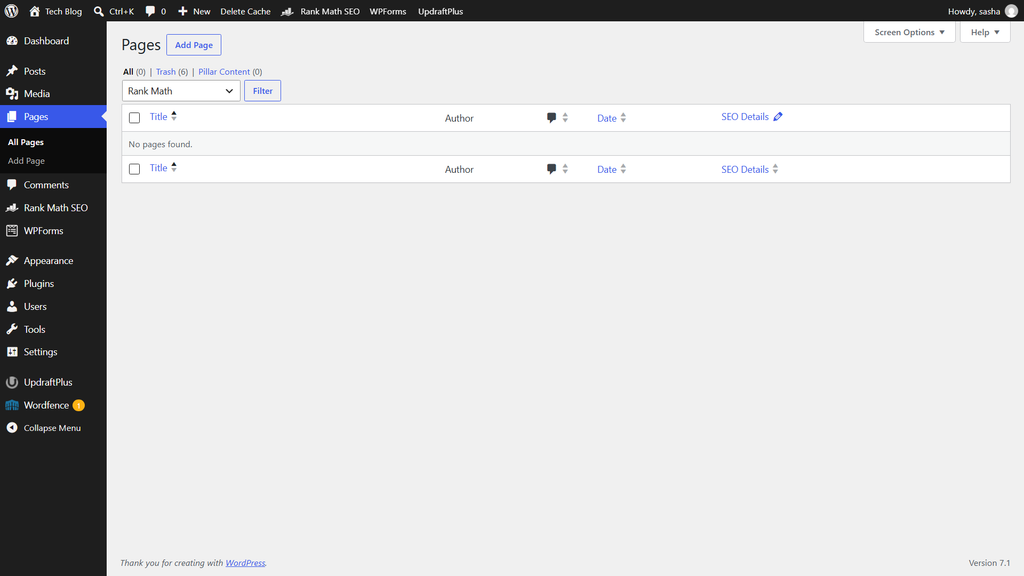
Go to Pages > Add New and create each of the following:
About A short page introducing who’s writing the blog and what it covers. This can stay empty for now and be filled in later.
Contact A page for readers to get in touch, either through a contact form (once a form plugin is installed) or a simple email address.
Home A page that will act as the site’s homepage, if a static homepage is preferred over showing the latest posts automatically.
Blog A page that can be used to display the list of blog posts, especially useful if Home is set to a static page instead.
Pages setting
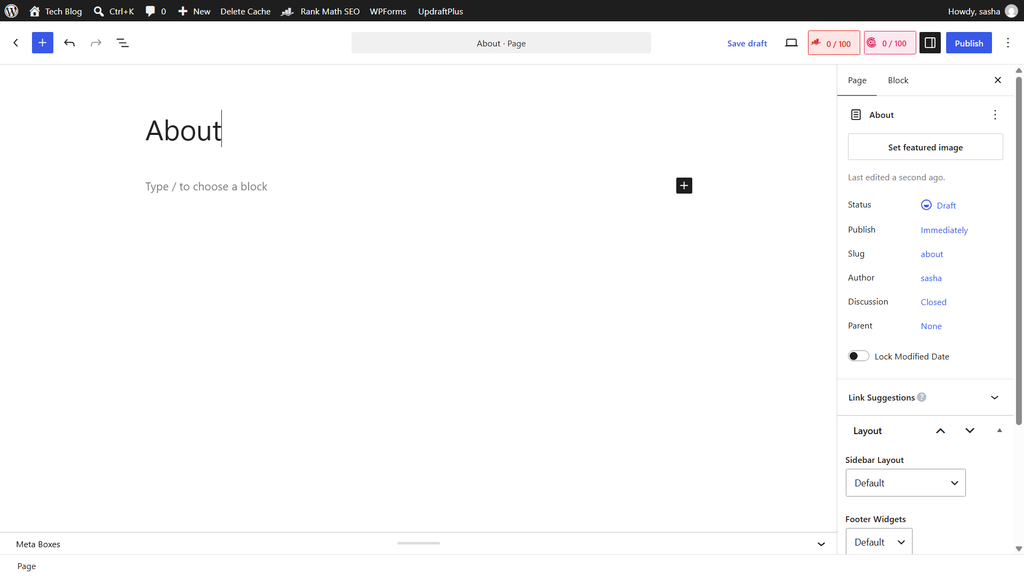
Create and Publish About Page
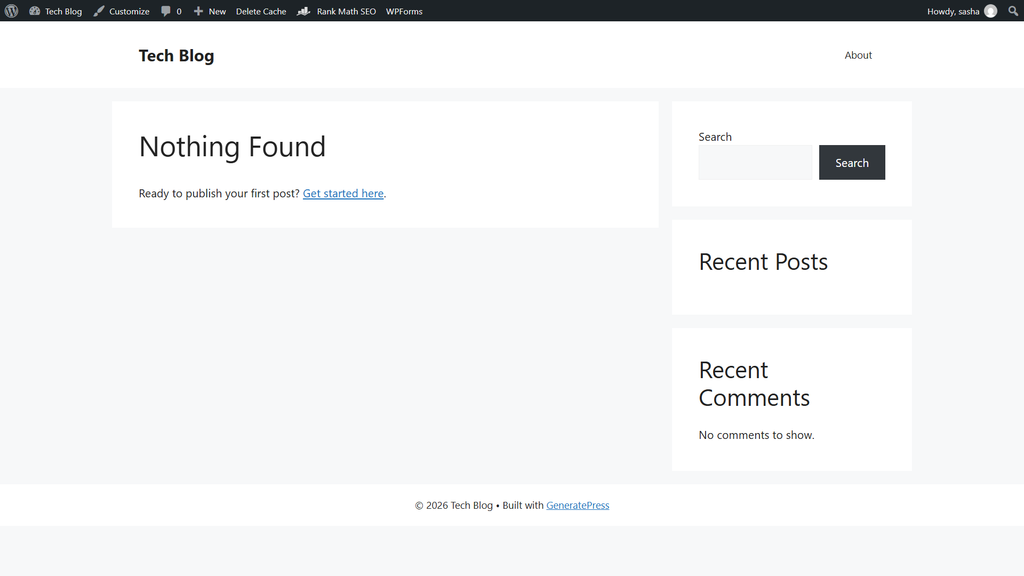
Home page after publishing About page
For each one, set a title, leave the content area empty or add a placeholder, and click Publish. Empty pages are fine at this stage. The goal right now is structure, not content.
3. Creating Sample Posts
Go to Posts > Add New and create two placeholder posts:
- Sample Post 1
- Sample Post 2
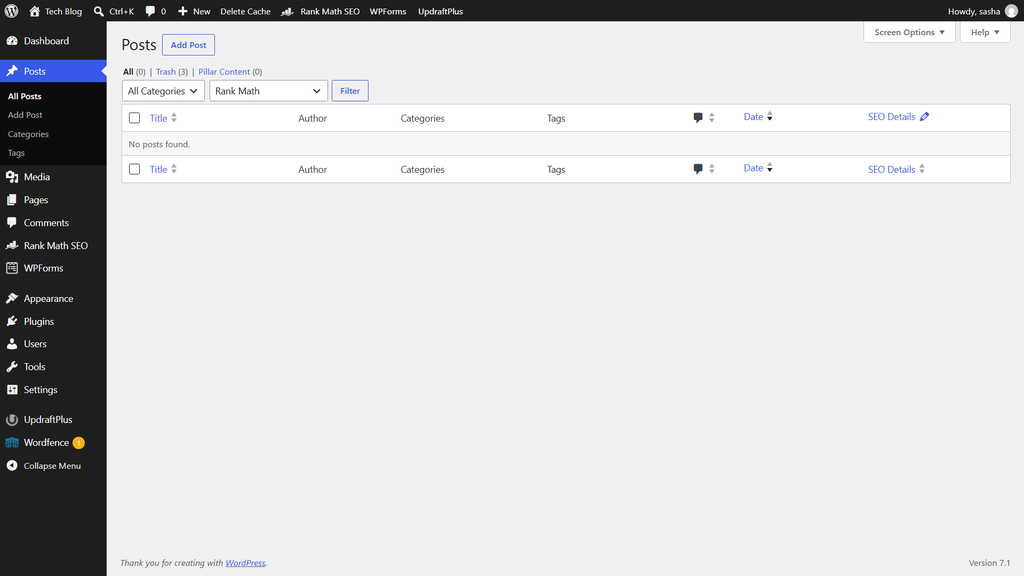
Posts setting
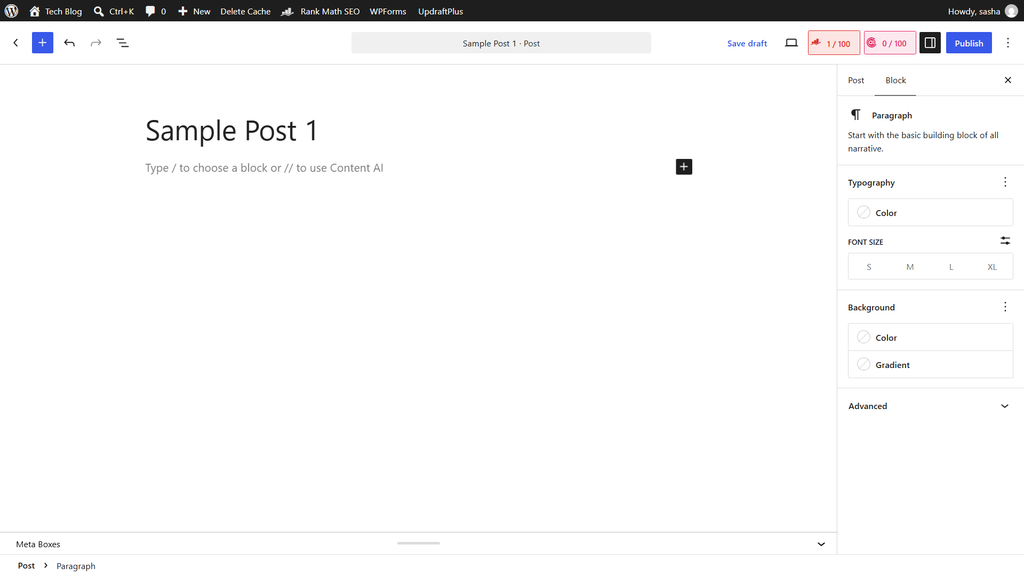
Create and Publish Sample post
Home page after publishing pages and posts
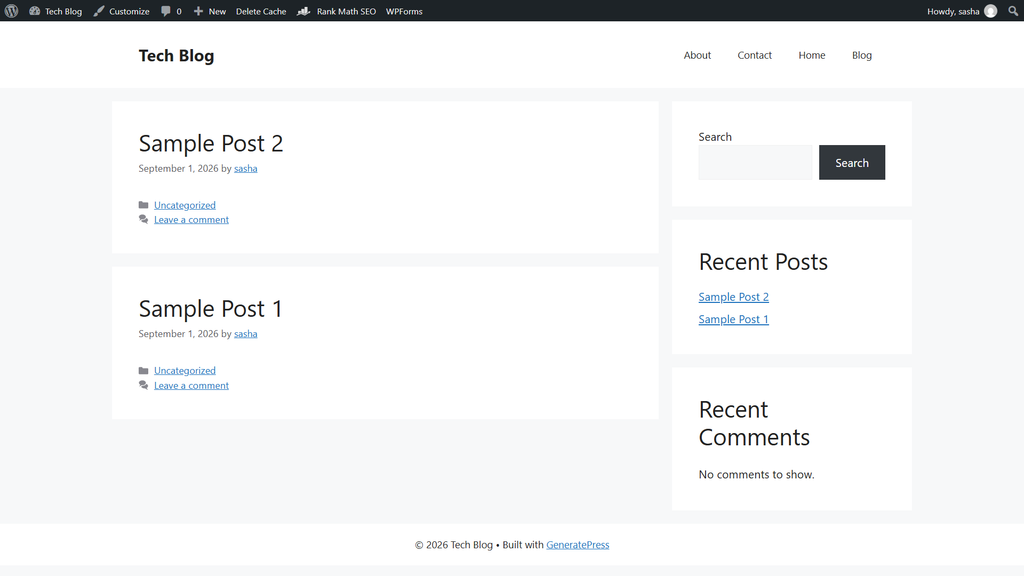
4. Setting Homepage Behavior
Go to Settings > Reading and choose between two options:
- Your latest posts: the homepage automatically shows recent blog posts. This is the simplest and most common setup for a blog.
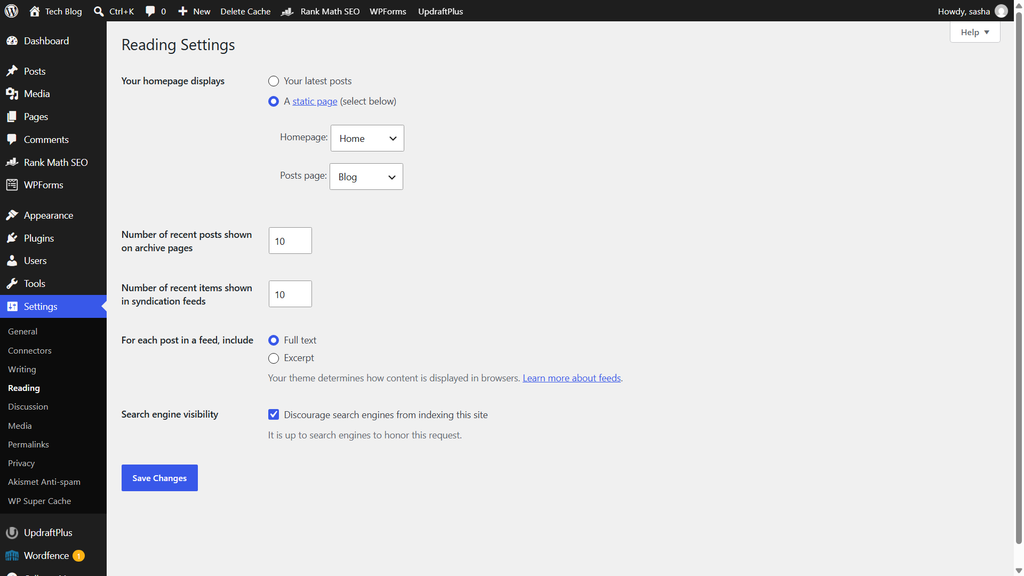
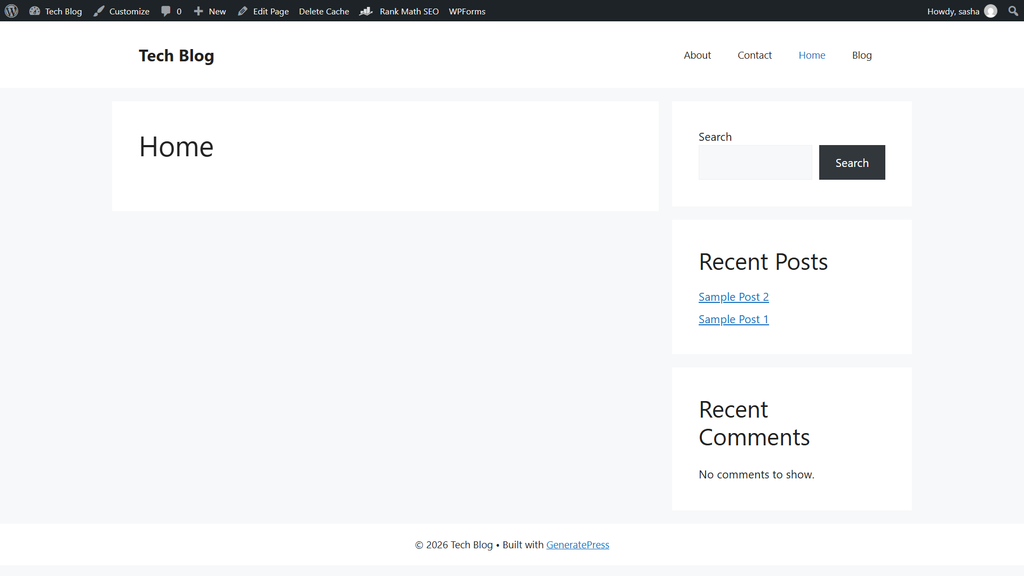
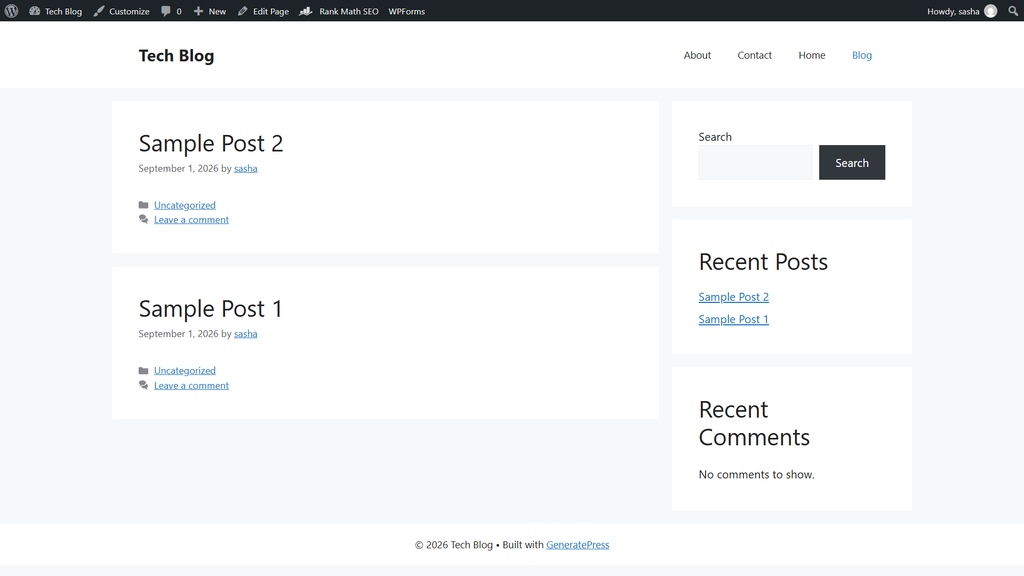
- A static page: choose the Home page as the homepage, and optionally choose the Blog page as the “Posts page” to display the post feed separately.
Settings > Reading
Home after setting static pages
Posts page after setting static pages
If unsure, starting with “Your latest posts” is a safe default. It can be changed later without breaking anything.
5. Building the Navigation Menu
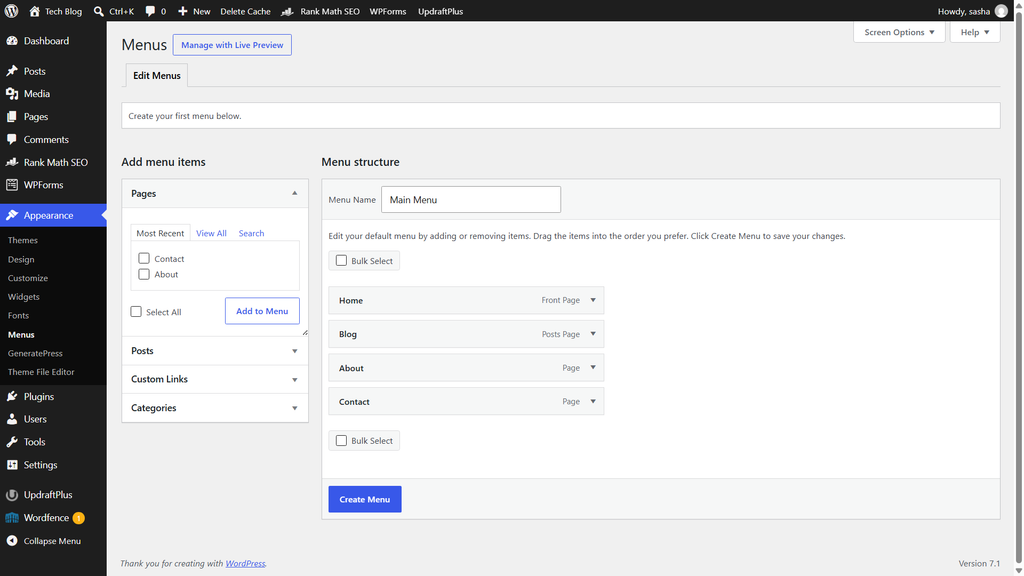
Go to Appearance > Menus and follow these steps:
- Click create a new menu and give it a name, for example “Main Menu”.
- On the left side, select the pages to include: Home, About, Blog, Contact.
- Click Add to Menu, then drag the items into the desired order.
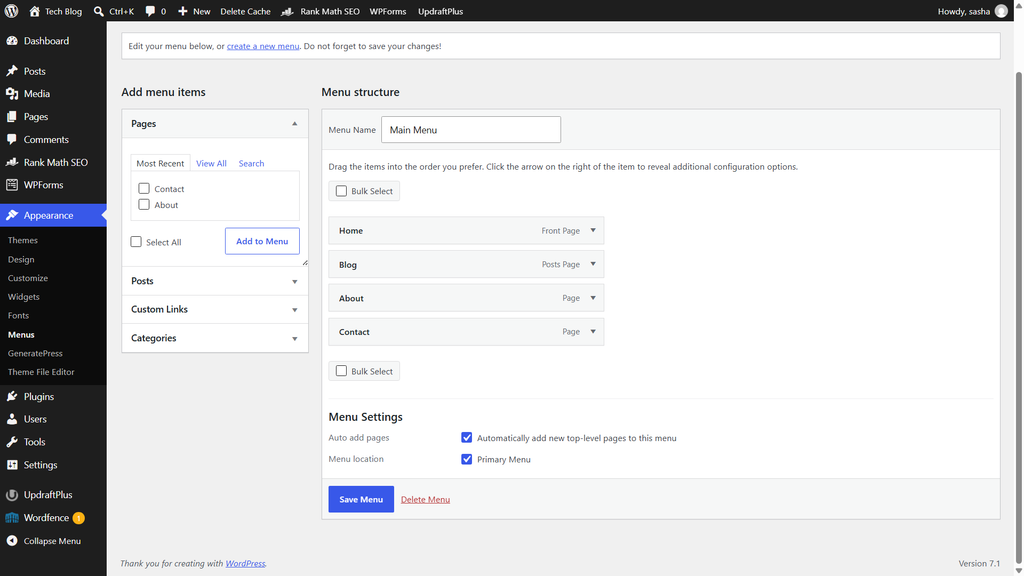
- Under Menu Settings, check the box for the theme’s primary menu location.
- Click Save Menu.
Appearance > Menues
Check Primary Menu and Automatically add pages
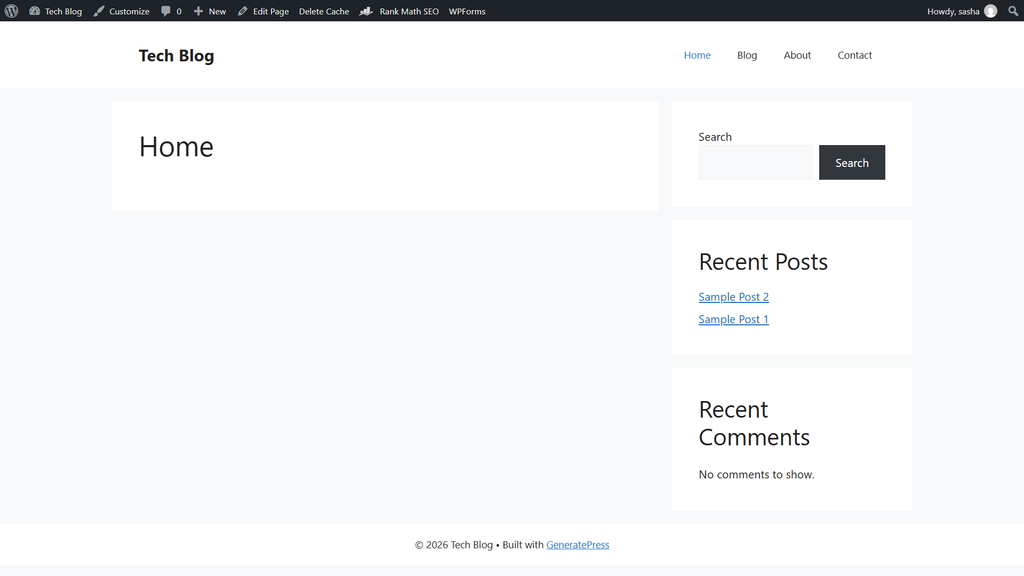
Home page after setting the menu
6. Verifying the Result
After saving, visit the live site and confirm:
- The navigation menu appears in the header, in the intended order.
- Each menu link goes to the correct page.
- The homepage displays either the latest posts or the chosen static page, as configured.
- Sample Post 1 and Sample Post 2 appear correctly if the post feed is visible.
At this point, the site has a working structure: pages for static content, a couple of sample posts, a defined homepage, and a functioning navigation menu. From here, the empty pages and placeholder posts can be filled in with real content over time.