
A beginner-friendly walkthrough of setting up a self-hosted WordPress environment using Ubuntu Server, VMware, and Docker.
Introduction
If you’ve ever wanted to run your own WordPress site instead of relying on a hosting provider, this guide walks through building a complete local WordPress environment from scratch — using a virtual machine and Docker. By the end, you’ll have a working WordPress site running in containers, accessible right from your browser.
This setup is great for:
- Learning how WordPress, databases, and web servers fit together
- Testing plugins/themes safely without touching a live site
- Practicing DevOps basics like Docker and Git
What we’ll use:
- VMware (to run a virtual machine)
- Ubuntu Server (the OS)
- Docker & Docker Compose (to run WordPress + database + web server as containers)
What You’ll Need
- A computer with VMware installed (Workstation, Player, or Fusion)
- An Ubuntu Server ISO
- Basic comfort with the command line (copy-paste is fine!)
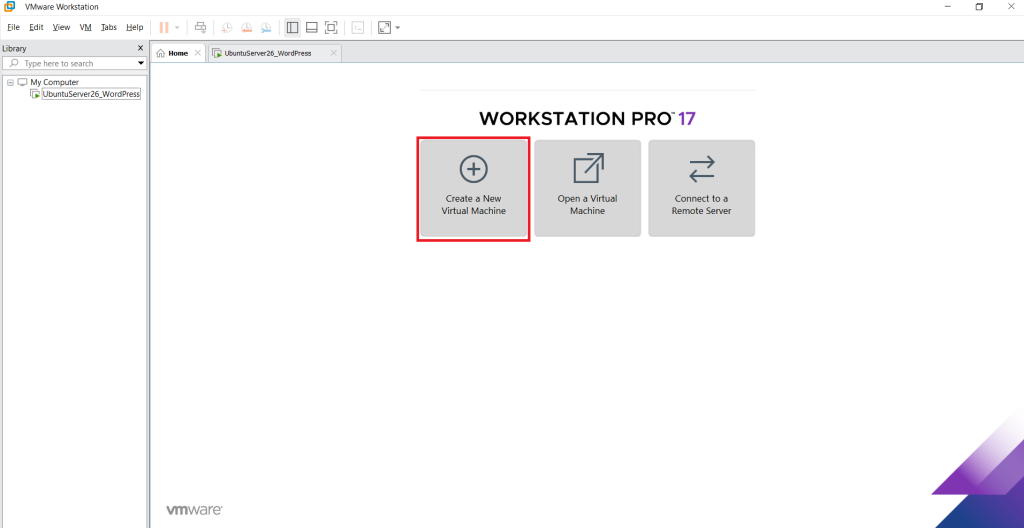
Step 1: Create the Virtual Machine
- Open VMware and create a new VM
- Select your Ubuntu Server ISO
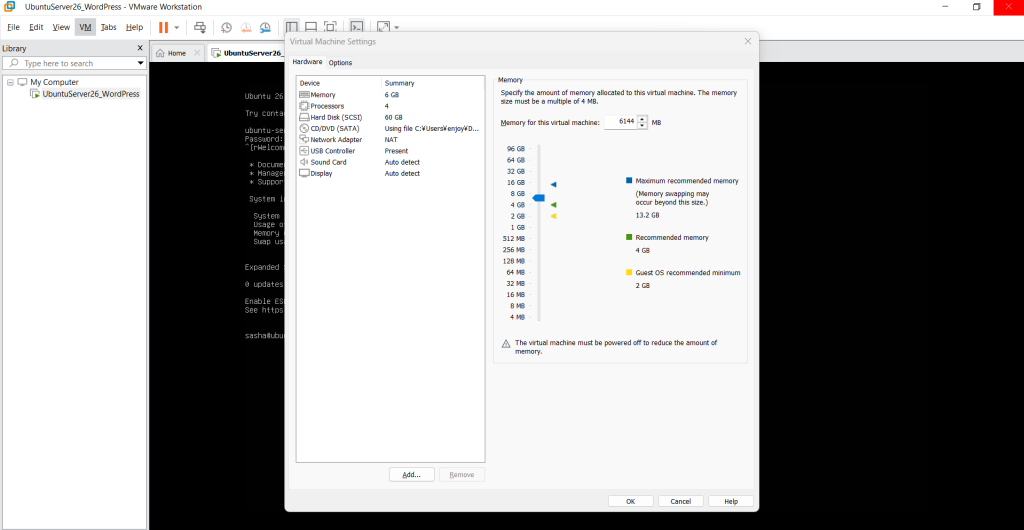
- Allocate resources — for a small setup like this, 2 CPU cores and 4GB RAM is a reasonable starting point
- Set the network adapter to Bridged mode so the VM gets its own IP address on your home network, reachable directly from your laptop
Step 2: Install Ubuntu Server
Walk through Ubuntu’s installer:
- Set your username and password
- Enable OpenSSH server during installation (makes it easy to manage the VM remotely later)
- Complete the install and reboot
Once it boots to a login prompt, you’re ready to go.
Update the system before continuing:
bash
sudo apt update && sudo apt upgrade -yStep 3: Install Docker
Docker lets us run WordPress, its database, and a web server as isolated containers — without manually installing and configuring each one on the OS.
bash
sudo apt install -y ca-certificates curl gnupg
sudo install -m 0755 -d /etc/apt/keyrings
curl -fsSL https://download.docker.com/linux/ubuntu/gpg | sudo gpg --dearmor -o /etc/apt/keyrings/docker.gpg
sudo chmod a+r /etc/apt/keyrings/docker.gpg

echo \
  "deb [arch=$(dpkg --print-architecture) signed-by=/etc/apt/keyrings/docker.gpg] https://download.docker.com/linux/ubuntu \
  $(. /etc/os-release && echo "$VERSION_CODENAME") stable" | \
  sudo tee /etc/apt/sources.list.d/docker.list > /dev/null

sudo apt update
sudo apt install -y docker-ce docker-ce-cli containerd.io docker-buildx-plugin docker-compose-plugin

sudo usermod -aG docker $USER
newgrp docker
Verify it worked:
bash
docker --version
docker compose version
Step 4: Set Up the Project Folder
Create a folder to hold all your configuration files:
bash
mkdir -p ~/wordpress-env
cd ~/wordpress-env
We’ll define credentials in a .env file, keeping secrets separate from the main config:
bash
nano .env.env
SITE1_DB_NAME=wp_site1
SITE1_DB_USER=wp_site1_user
SITE1_DB_PASSWORD=your_secure_password
SITE1_DB_ROOT_PASSWORD=your_secure_root_password
Step 5: Create the Docker Compose File
This file tells Docker what containers to run: a database, WordPress itself, and an Nginx web server to handle incoming requests.
bash
nano docker-compose.ymldocker-compose.yml
services:
  db1:
    image: mariadb:11
    container_name: db1
    restart: unless-stopped
    environment:
      MYSQL_DATABASE: ${SITE1_DB_NAME}
      MYSQL_USER: ${SITE1_DB_USER}
      MYSQL_PASSWORD: ${SITE1_DB_PASSWORD}
      MYSQL_ROOT_PASSWORD: ${SITE1_DB_ROOT_PASSWORD}
    volumes:
      - db1_data:/var/lib/mysql
    networks:
      - wp_net

  wordpress1:
    image: wordpress:latest
    container_name: wordpress1
    restart: unless-stopped
    depends_on:
      - db1
    environment:
      WORDPRESS_DB_HOST: db1
      WORDPRESS_DB_NAME: ${SITE1_DB_NAME}
      WORDPRESS_DB_USER: ${SITE1_DB_USER}
      WORDPRESS_DB_PASSWORD: ${SITE1_DB_PASSWORD}
    volumes:
      - wp1_data:/var/www/html
    networks:
      - wp_net

  nginx-proxy:
    image: nginx:latest
    container_name: nginx-proxy
    restart: unless-stopped
    depends_on:
      - wordpress1
    ports:
      - "8001:8001"
    volumes:
      - ./nginx-proxy/conf.d:/etc/nginx/conf.d
    networks:
      - wp_net

networks:
  wp_net:
    driver: bridge

volumes:
  db1_data:
  wp1_data:
Step 6: Configure Nginx
Create a config folder and a routing file for the site:
bash
mkdir -p nginx-proxy/conf.d
nano nginx-proxy/conf.d/site1.conf
site1.conf
server {
    listen 8001;
    server_name _;

    location / {
        proxy_pass http://wordpress1:80;
        proxy_set_header Host $http_host;
        proxy_set_header X-Real-IP $remote_addr;
        proxy_set_header X-Forwarded-For $proxy_add_x_forwarded_for;
    }
}
Tip: Using $http_host (instead of $host) makes sure the port number is preserved when Nginx forwards requests — otherwise WordPress may redirect to a URL missing the port, causing a “refused to connect” error.
Step 7: Launch Everything
bash
docker compose up -d
docker compose ps
All containers should show as Up.
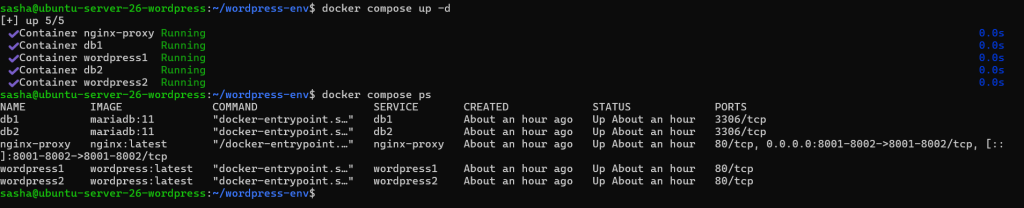
Check the logs if anything looks off:
bash
docker compose logs -fStep 8: Access WordPress from Your Browser
Find your VM’s IP address:
bash
ip addr showThen, from your laptop’s browser, visit:
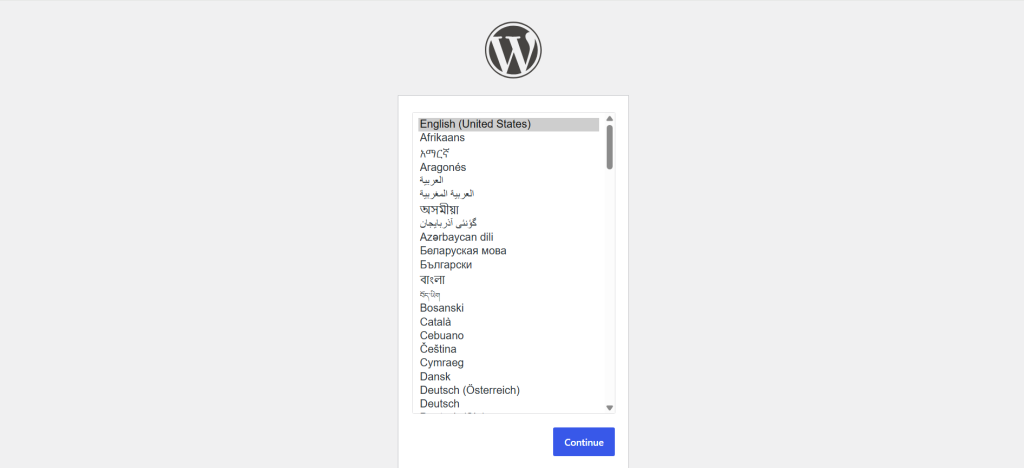
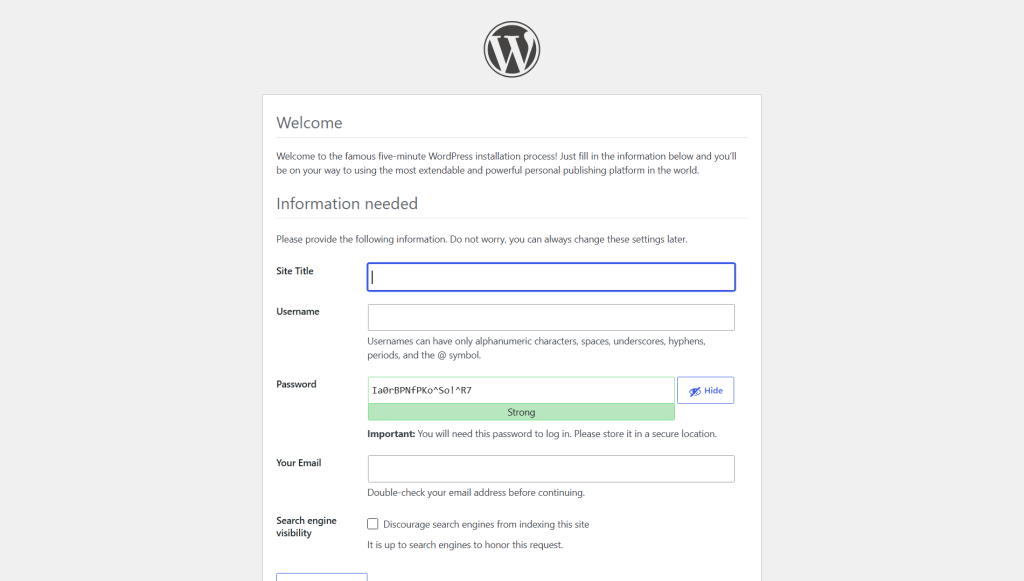
http://<your_vm_ip>:8001You should land on the WordPress installation screen.
Fill in your site title, admin username, and password to complete the install.
Wrapping Up
At this point, you have a fully working, self-hosted WordPress site running in Docker containers on a virtual machine — completely isolated from your host system, and easy to tear down or rebuild at any time with:
bash
docker compose down     # stop, keep data
docker compose up -d    # start again
Where to go from here:
- Add a second (or third) WordPress site by duplicating the database/WordPress service blocks with a new port
- Push your configuration to GitHub so the whole environment can be rebuilt on another machine
- Explore setting up HTTPS or a static IP for a more permanent setup
Self-hosting WordPress this way is a great, low-risk way to learn Docker, Linux server basics, and how a real web stack fits together — all without needing a live production server.
Have questions or run into issues following along? Drop a comment below!